
Chatsworth - Peak District Walk
Saturday 22nd December 2018
After more issues with my knee and more physio it was time to get back out walking. Following last year's pre-Christmas walk we decided to see if the Saturday before Christmas would once again provide us with a walk away from the crowds. With the exception of the area around the house we weren't disappointed and enjoyed another walk meeting very few people for such a normally popular area.
Start: Hell Bank Plantation (SK 2868 6807)
Route: Hell Bank Plantation - Rabbit Warren - Swiss Lake - Emperor Lake - Derwent Valley Heritage Way - Beeley - Hell Bank Plantation
Distance: 7.25 miles Ascent: 276 metres Time Taken: 4 hrs 10 mins
Terrain: Clear paths
Weather: Grey with patches of light rain.
Pub Visited: None Ale Drunk: None
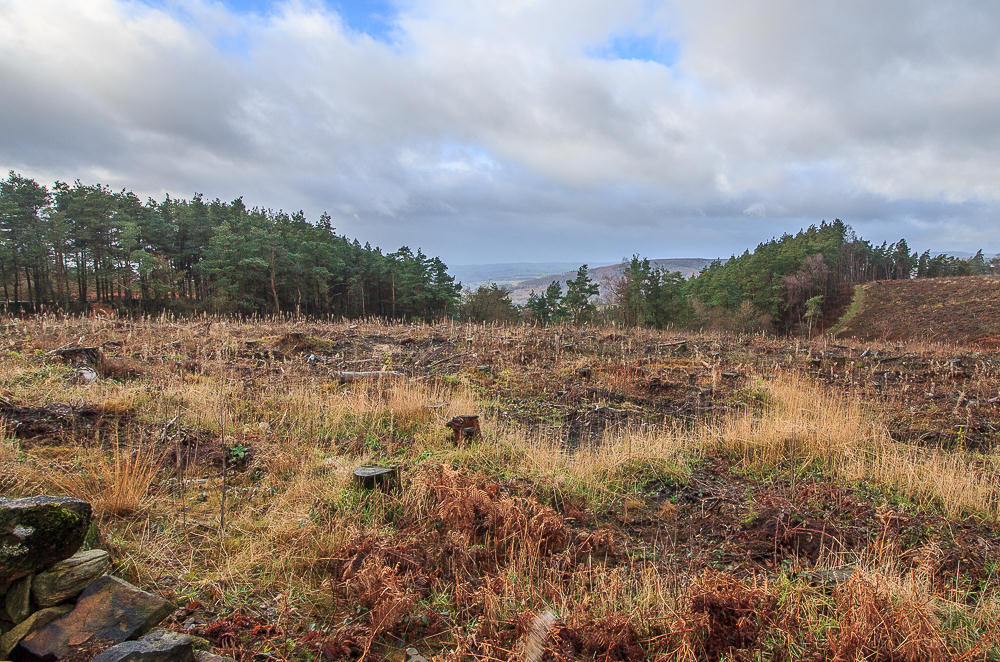
Looking across the area at the top of Hell Bank Plantation that has been cleared to give views across the Derwent Valley.
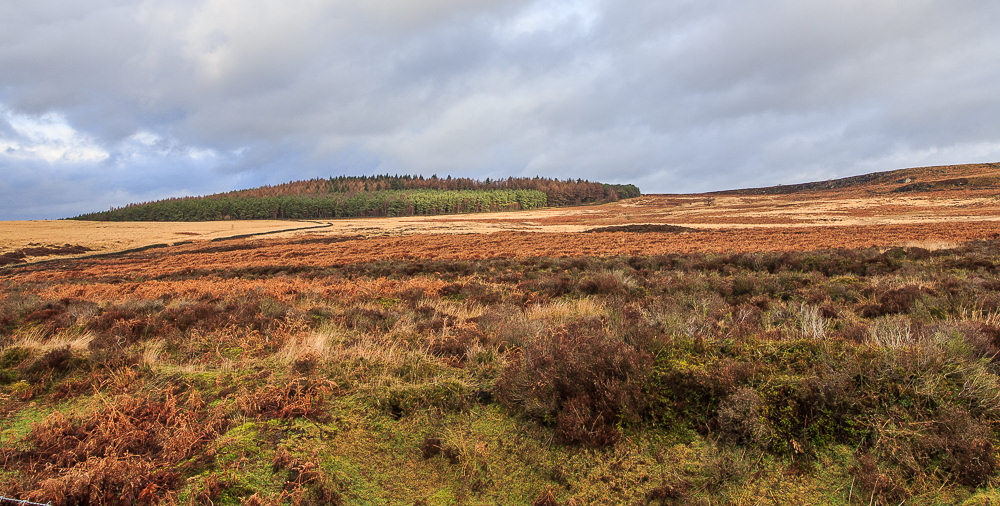
Heading along the track towards Rabbit Warren with views across the moor towards Harland Edge and Bunker's Hill Wood.
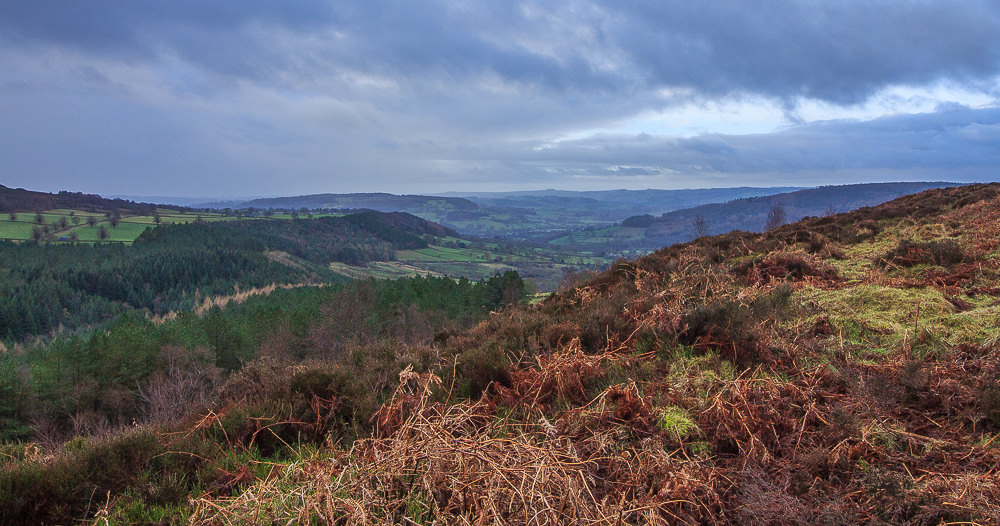
When you first get onto Rabbit Warren the view includes both the Derwent Valley and the Wye Valley.
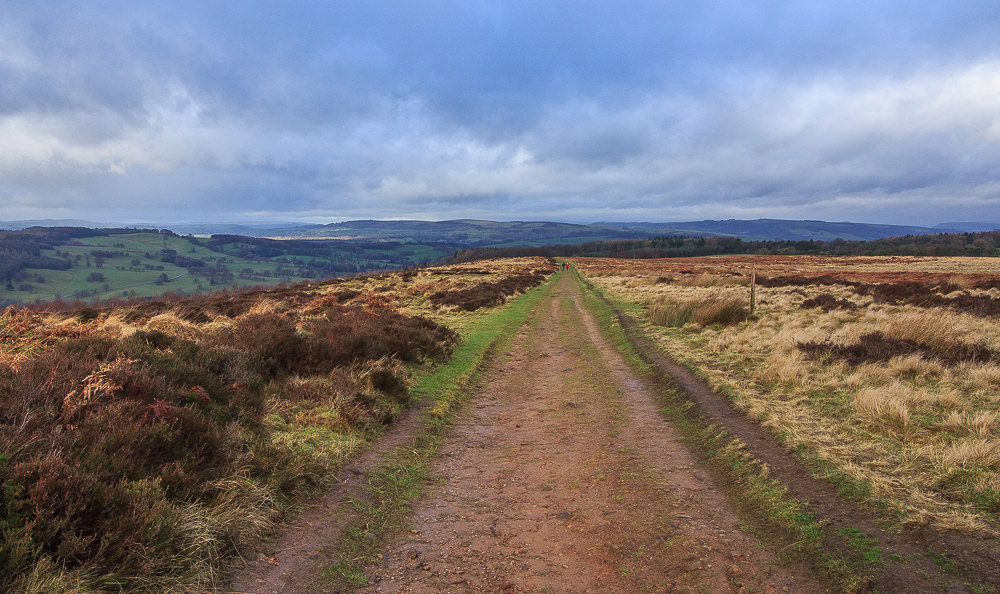
Walking across Rabbit Warren we couldn't but help notice the rain that appeared to be heading in our direction from Longstone Edge.
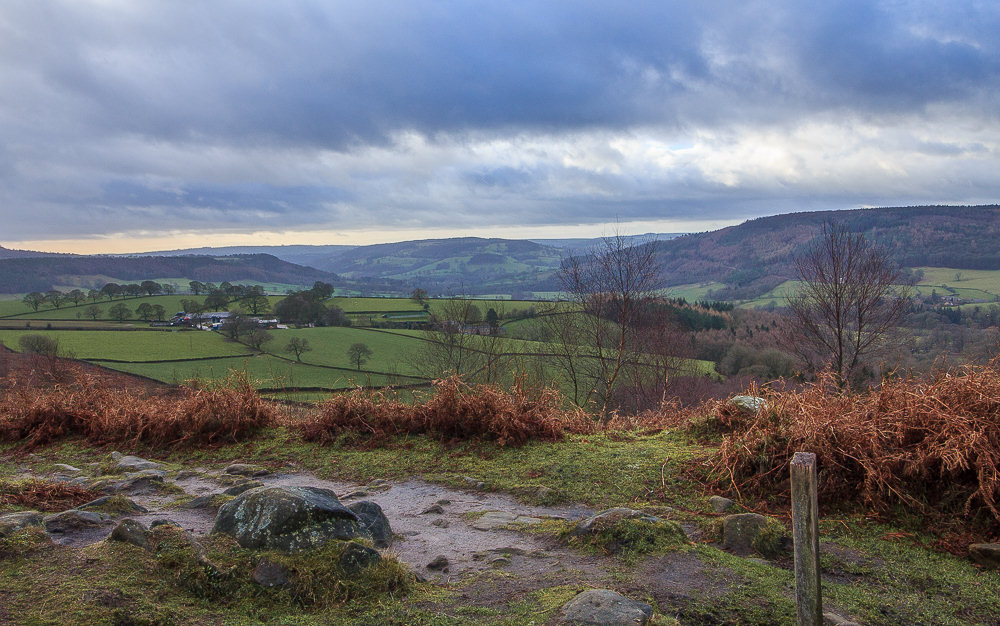
As we approached the edge of the Chatsworth Estate the view is across the Derwent Valley towards Stanton Moor.
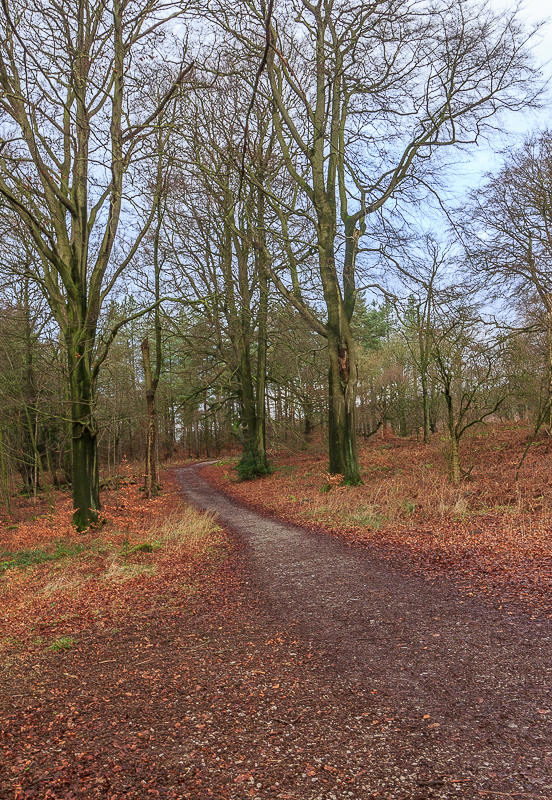
This part of the estate was suprisingly quiet and we met no-one
until we reached the Hunting Tower.
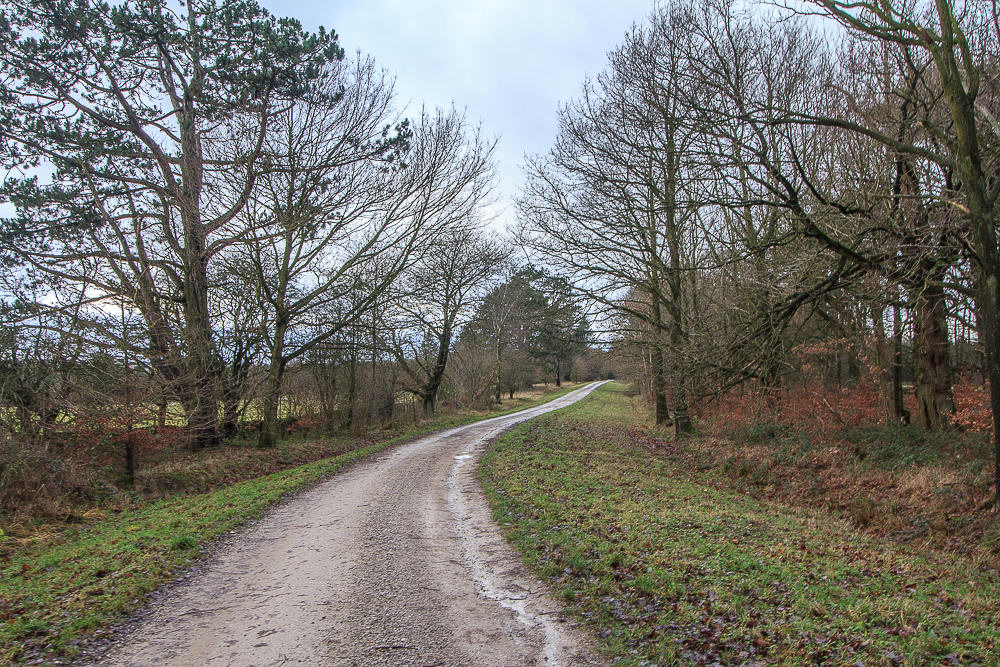
Strangely deserted along the path to Swiss Lake.
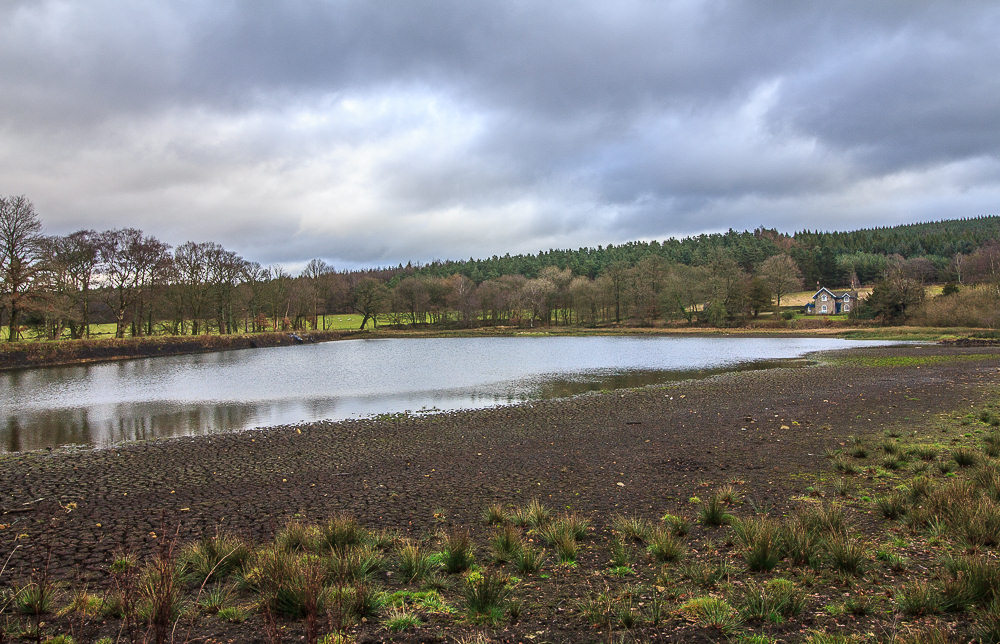
Swiss Lake looks even emptier than it did in 2017.
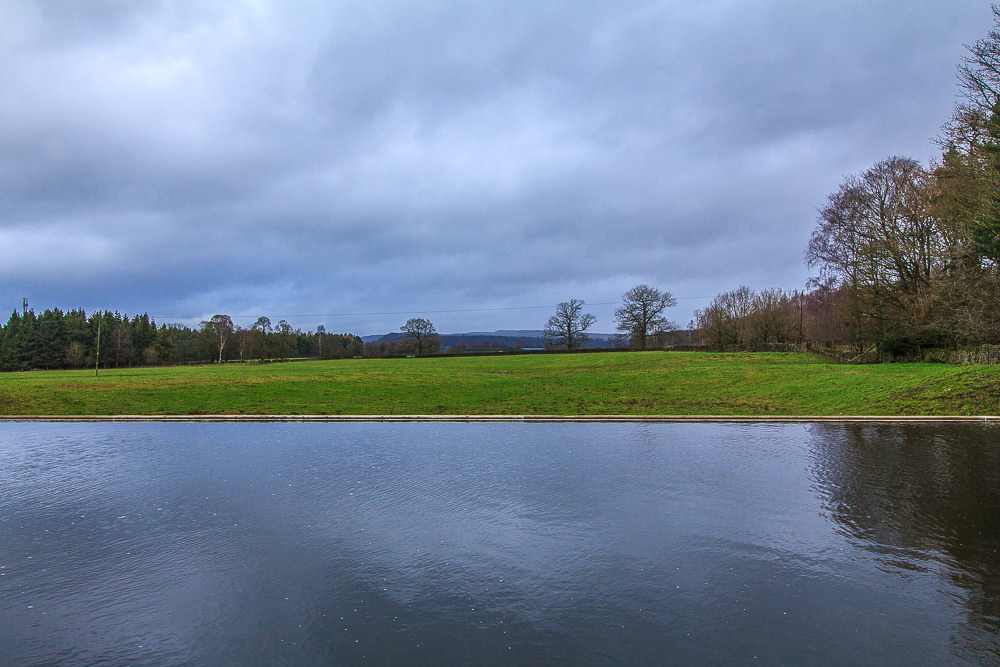
Looking across towards Gardom Edge from the area that was cleared in 2015.
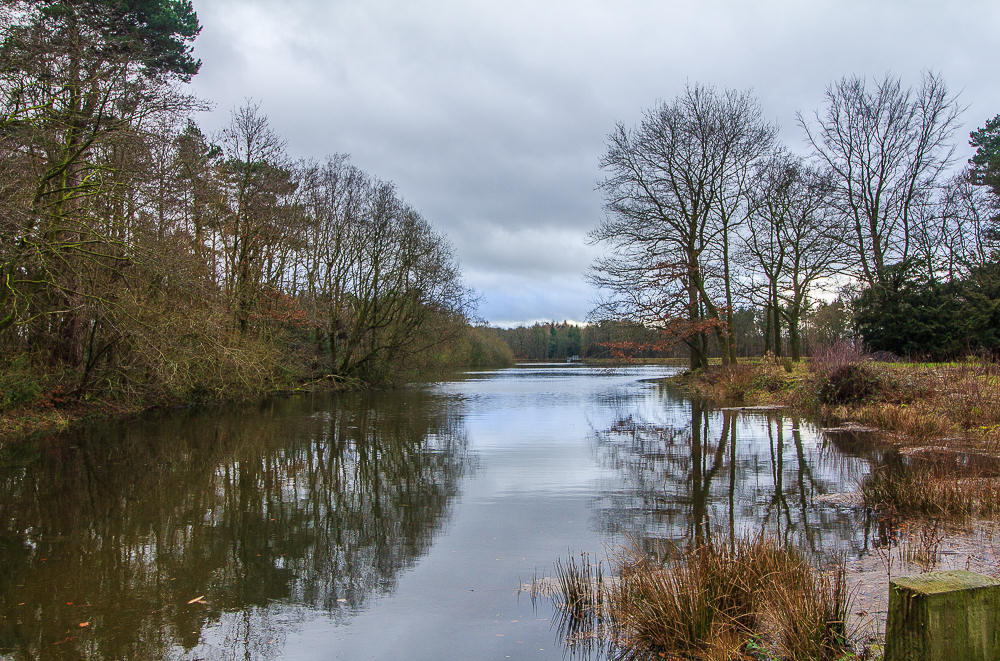
Unlike Swiss Lake Emperor Lake is once again full.
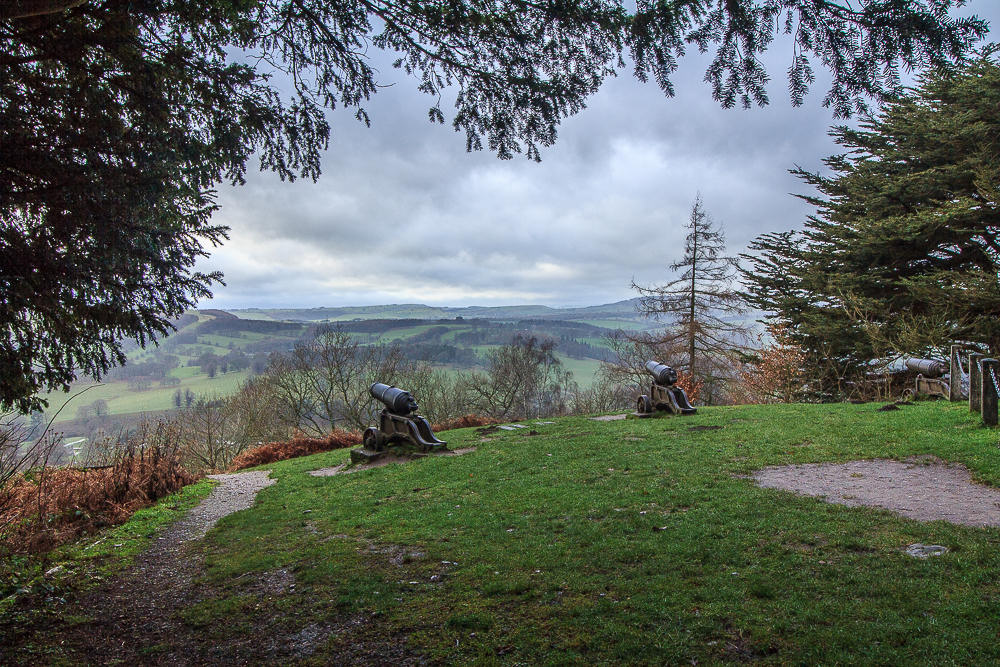
The heaviest rain arrived just as we reached the Hunting Tower so we took shelter under the trees until it passed over.
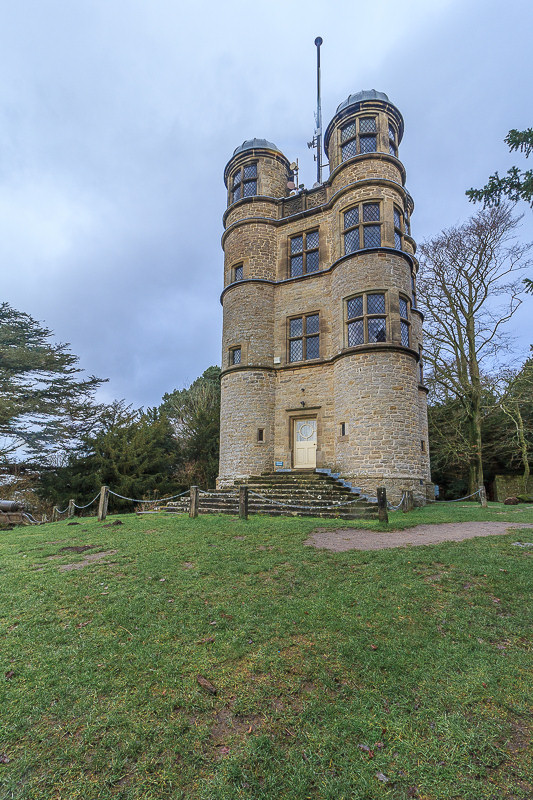
Someone was stopping at the Hunting Tower which is let as a holiday cottage.
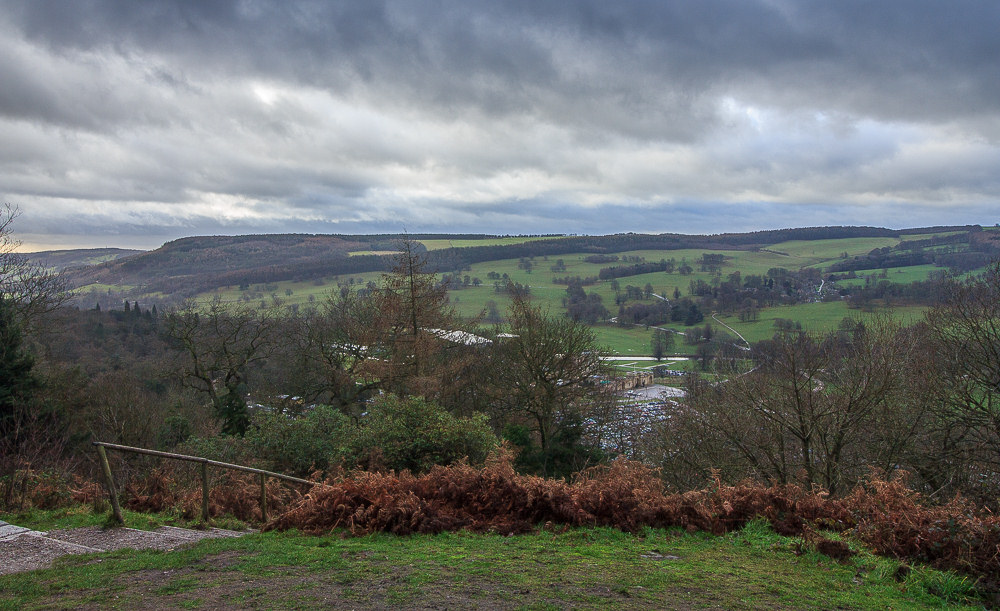
Given we had met no-one on the paths in Chatsworth we were amazed at the number of cars in the car park below.
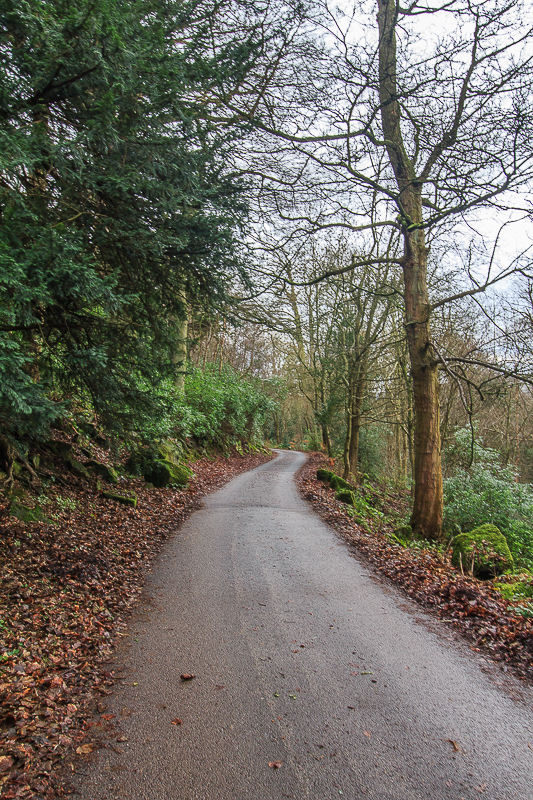
As we headed downhill towards the house we still only passed three other people.
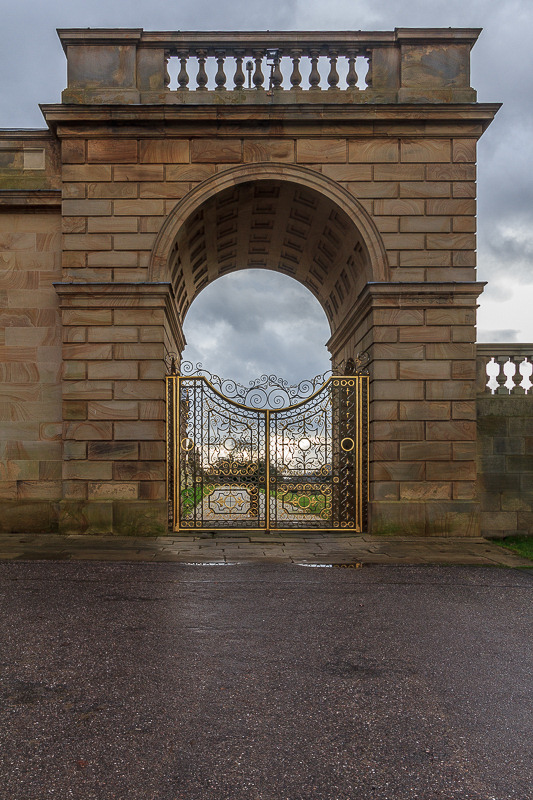
It might not look it but this part of Chatsworth was full of people, there was a
steady stream of cars heading up the road to the car park and hoards of people
visiting the house and shops. More people than I have seen in the height of summer.
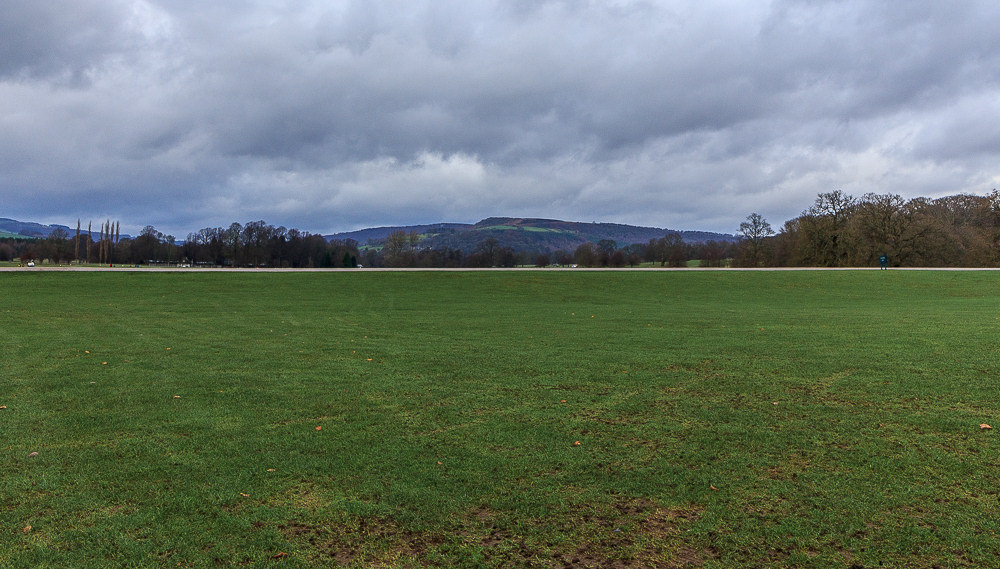
Looking across towards Baslow Edge. I had thought about having lunch at Queen Mary's Bower but given the number of people and cars abandoned that idea.
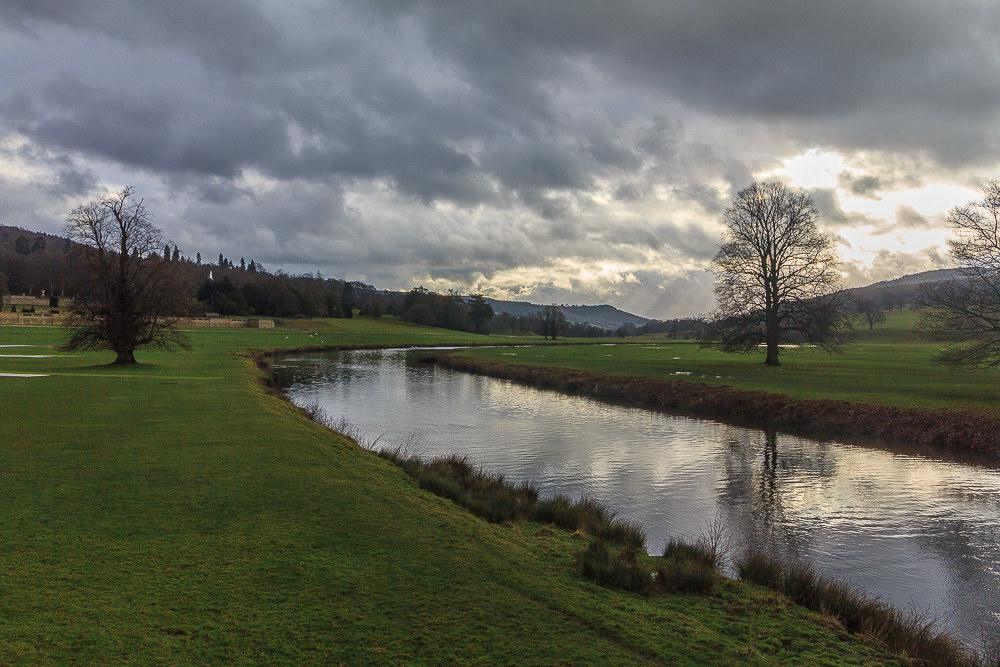
The sun threatens to come out as we approach the River Derwent.
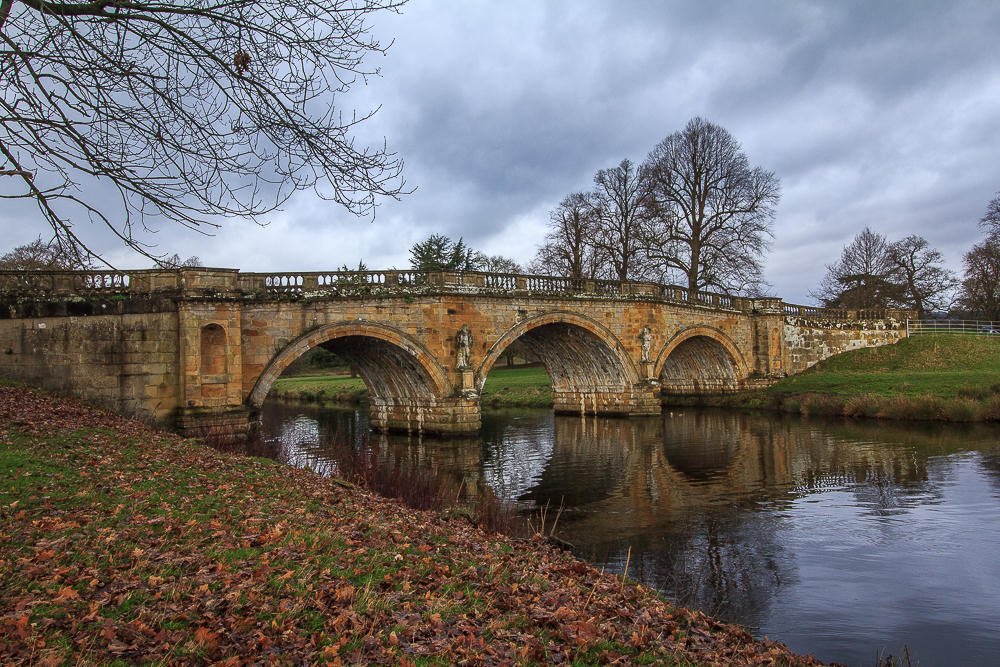
With John on car watch I was able to get a shot of the bridge free of cars.
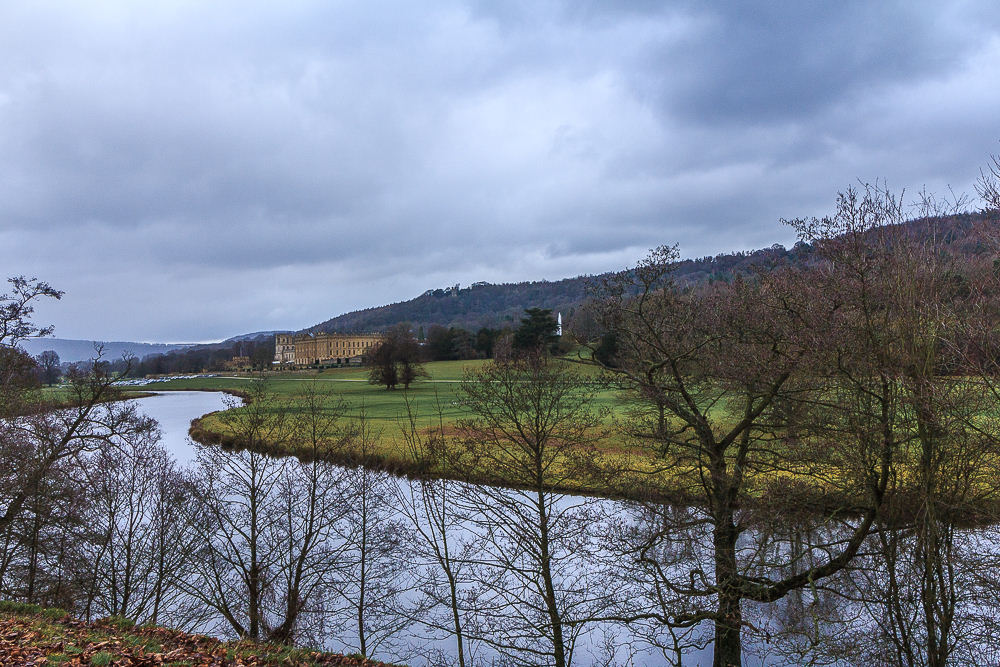
We opted for lunch on a bench overlooking the river that gave us a good view of the house. A shame about all the cars in the over-flow car park.
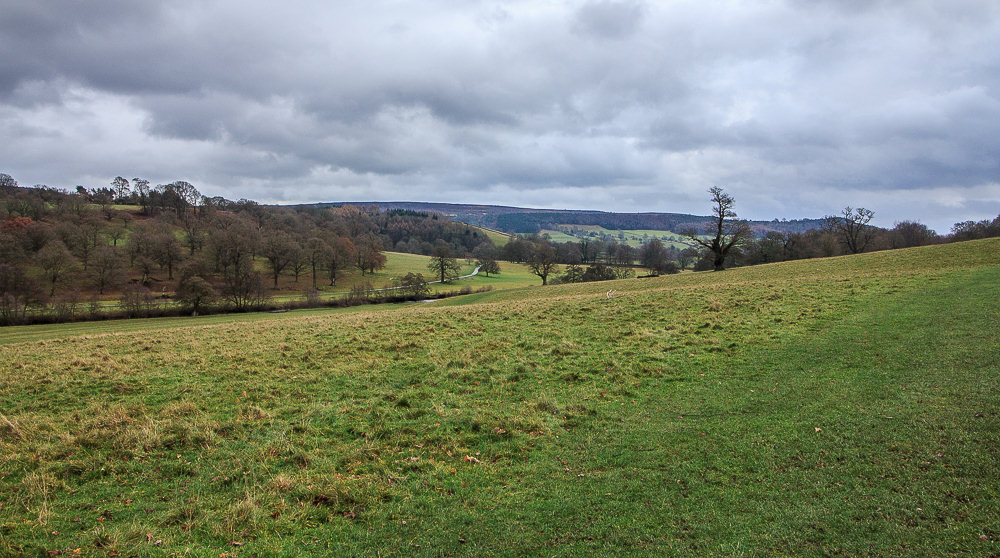
Heading across the estate we get a view of the ascent we have to do to get back to the car.
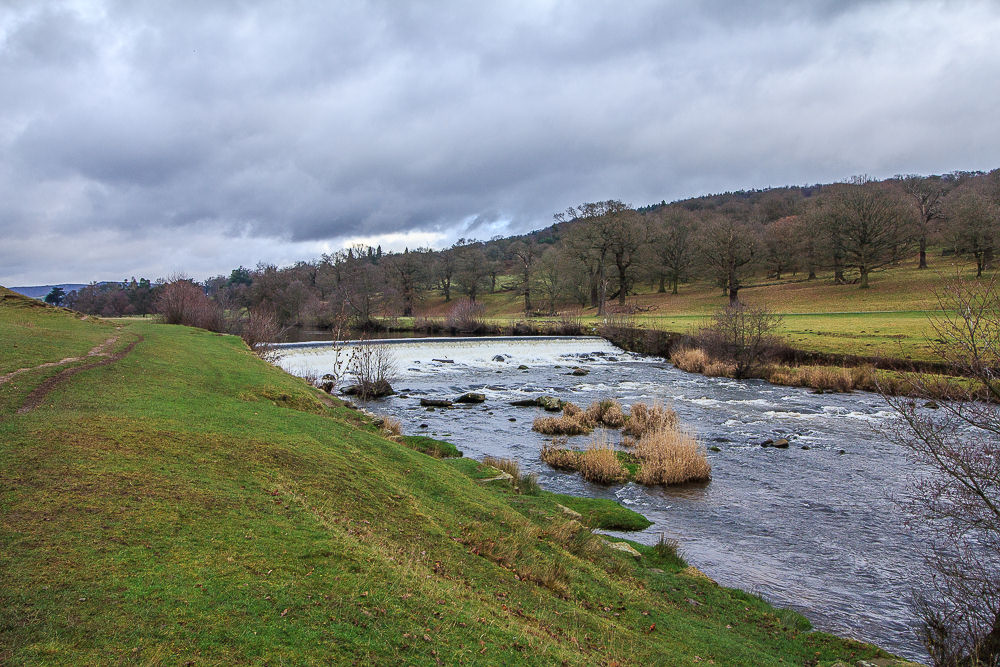
No fishermen or picnickers near the weirs today.
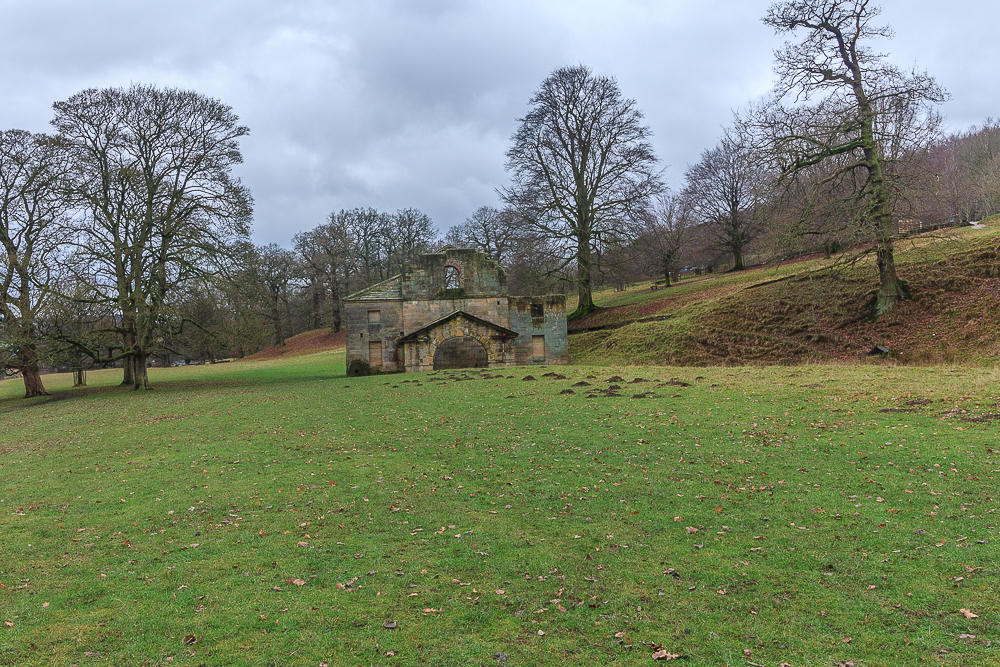
The Old Mill was designed by James Paine, who also desigend the two bridges found on the estate.
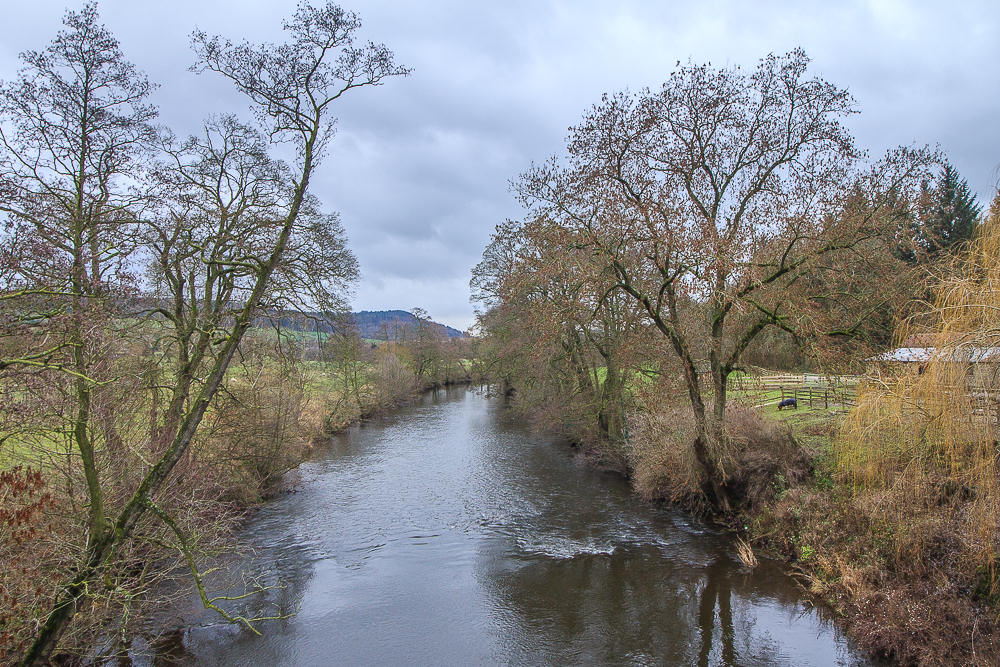
The River Derwent from Paine's One Arch Bridge.
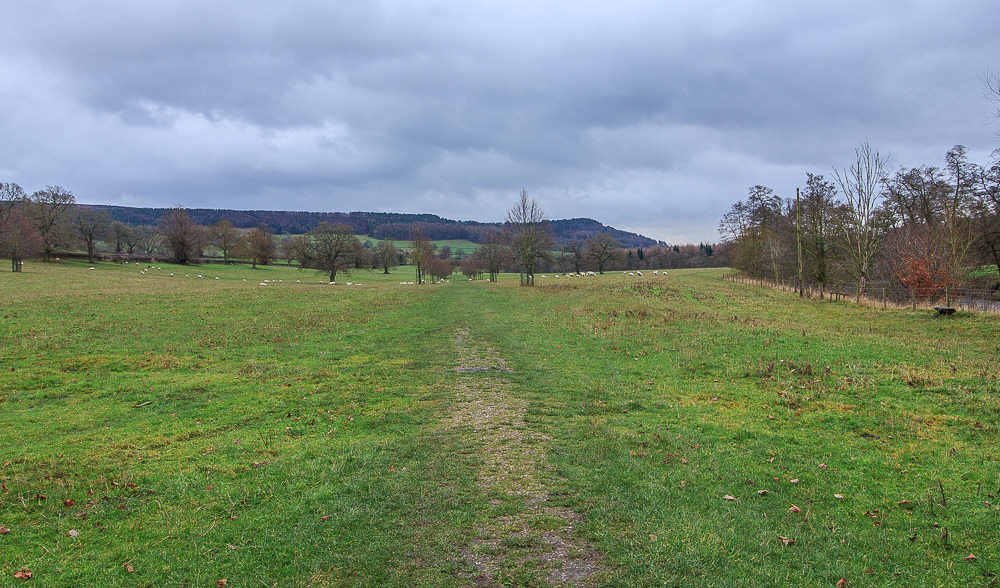
The route takes us across the field towards Beeley.
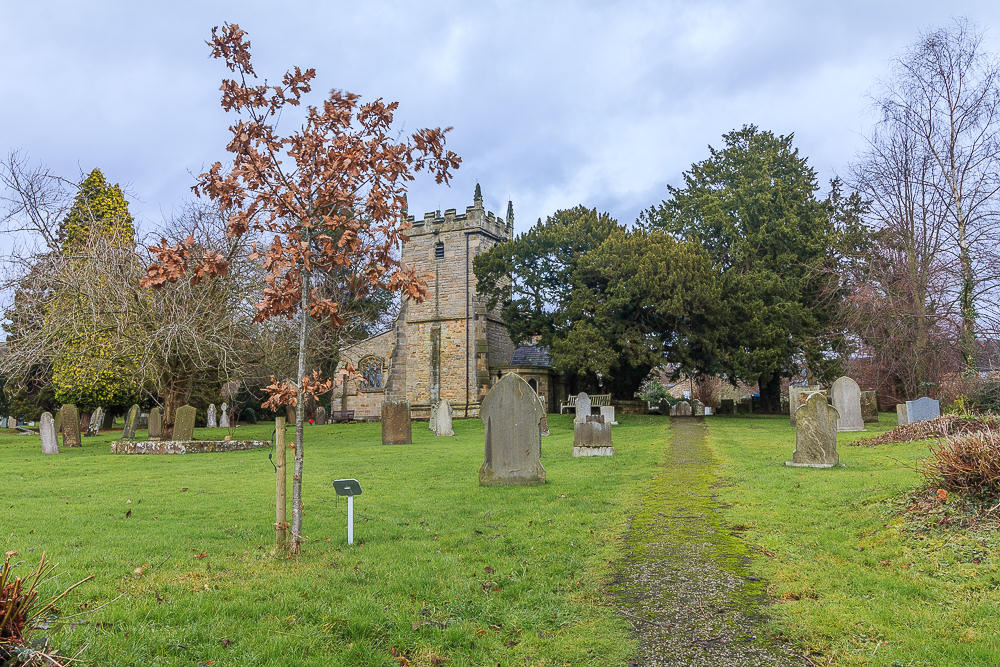
We emerge opposite Beeley Church.
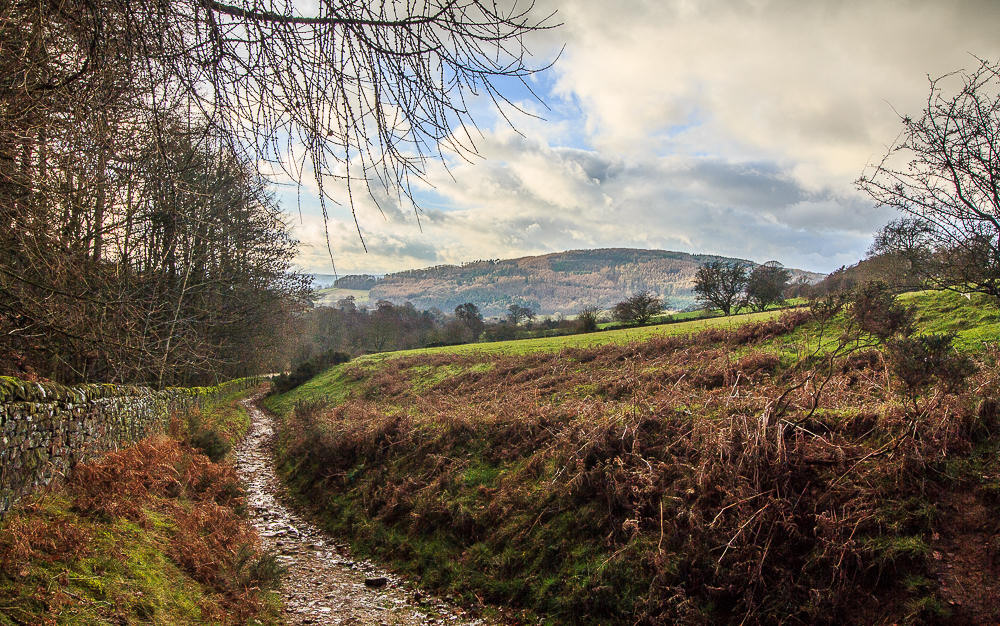
As we head into Hell Bank Plantation the sun finally comes out and lights up the woods across the valley.
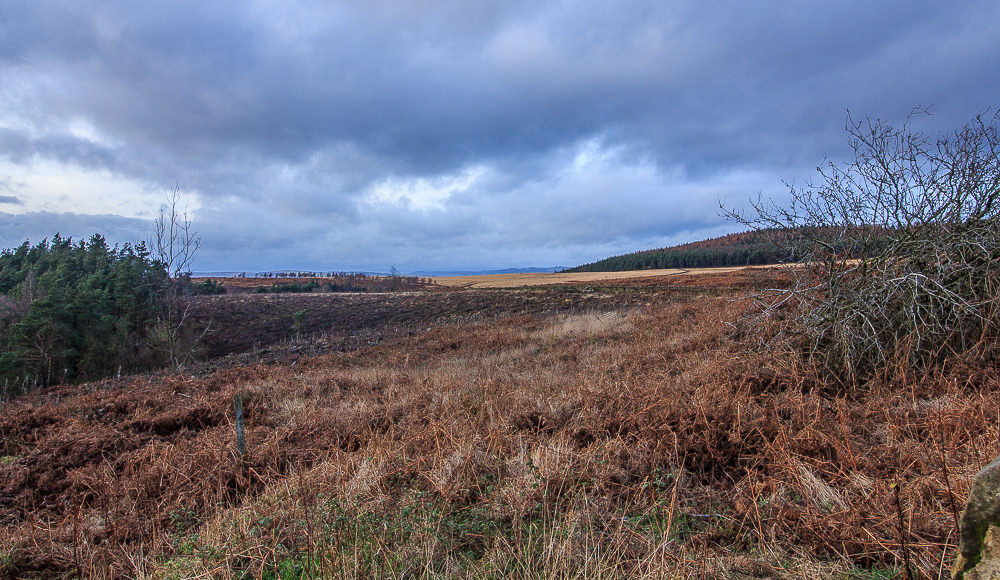
Emerging from the trees we get a final look at Rabbit Warren before we head to the car.
All pictures copyright © Peak Walker 2006-2023